

Camera Connection Guide: How to Connect a Camera Step by Step
How to Connect a Camera: Complete Camera Connection Setup and Troubleshooting Guide
In industrial cameras, 3D vision systems, and smart device deployments, camera connection is the very first step in the entire workflow. If the connection is not properly established at the beginning, even the most advanced software and algorithms will not function correctly. Therefore, understanding how to connect a camera and mastering the full connection process and troubleshooting methods is essential for successful implementation.
Many users don’t know where to start when using a device for the first time. In fact, by following a standardized process and starting from to get started connect a camera, you can quickly complete the setup and avoid most common issues.
How To Connect A Camera?
1. To Get Started Connect a Camera: Installation and Preparation
Before performing a camera connection, proper installation is required. The camera should be securely mounted in a stable position to avoid vibration, tilt, or obstruction. Otherwise, even if you successfully connect the camera, it may affect image quality and depth data stability.
It is also recommended to check all accessories before starting, including the power adapter, Ethernet cables, interface cables, and host device. Many camera connection issues are not caused by software or configuration errors, but by loose cables or poor connections.

2. Core of Camera Connection: Correct Wiring Method
When it comes to how to connect a camera, correct wiring is the most critical step. The main connection types include power supply, PoE connection, and network connection.
For power supply, most industrial cameras use 12V–24V DC input. The polarity must be correct; otherwise, the device may fail to start or repeatedly reboot, affecting the stability of the camera connection.
For devices that support PoE, to get started connect a camera becomes much easier. A single Ethernet cable can provide both power and data transmission. This method is widely used in industrial environments and simplifies deployment. However, the switch must support PoE+ (802.3at), otherwise power issues may still occur.
For network connection, it is recommended to use CAT5e or higher cables. Once you successfully connect the camera, the Ethernet port indicator lights should turn on or blink, indicating a normal connection.
3. How to Connect a Camera: Network Configuration is Key
After hardware connection, the camera connection is not yet complete. Network configuration determines whether communication can be established.
Typically, the camera has a default IP address such as 192.168.1.101, and the PC must be set to the same subnet (e.g., 192.168.1.xxx). Otherwise, even if you physically connect the camera, the software will not detect it.
Many users overlook this step during to get started connect a camera, leading to “device not found” issues. The correct approach is to check and adjust IP settings to ensure both devices are on the same subnet.
In addition, network stability is crucial. Avoid using WiFi for industrial applications; wired connections provide better bandwidth and reliability, which is essential for stable camera connection.
4. Connect the Camera: Software Setup and Device Detection
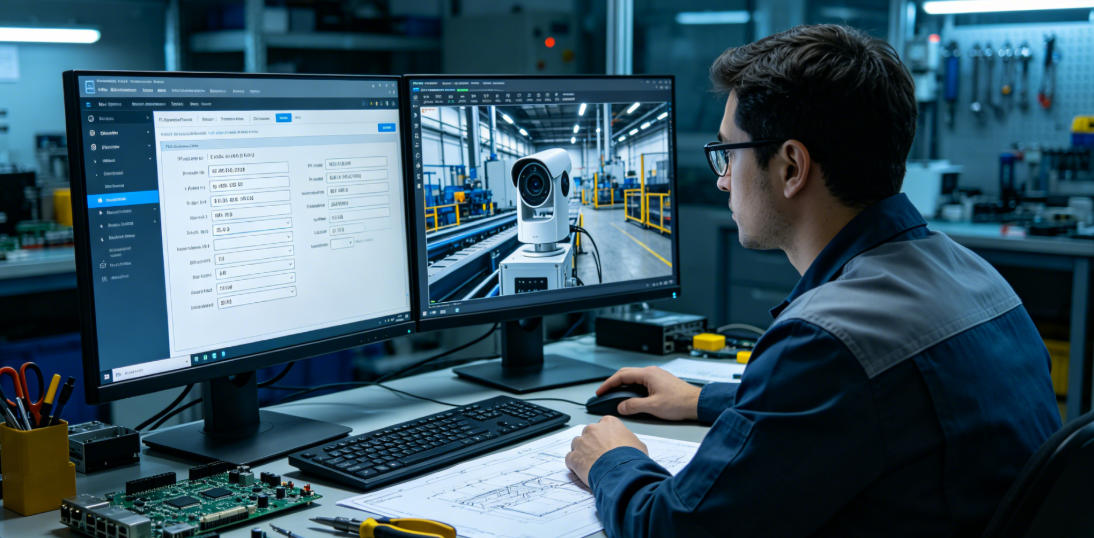
Once hardware and network configurations are ready, you can connect the camera using the provided software. The typical process includes scanning for devices, selecting the target camera, and establishing a connection.
If successful, you will see real-time image or depth data streaming, which means the camera connection has been completed. From the perspective of how to connect a camera, this step marks the transition from setup to application.
If the software cannot detect the camera, do not rush to reinstall it. Instead, recheck power supply, network configuration, and connection status.
5. Common Camera Connection Issues and Troubleshooting
Even when following standard procedures, issues may still occur. Understanding troubleshooting is an essential part of learning how to connect a camera.
If the camera is not detected, verify whether you have properly connect the camera, including checking power, cables, and indicator lights. Many issues originate from these basic factors.
If the device exists but cannot connect, the problem is often caused by IP mismatch. This is one of the most common camera connection issues and can be resolved by aligning subnet settings.
In multi-camera environments, IP conflicts may occur when multiple devices share the same address. Assign unique IPs to each device to avoid connection failures.
Firewall restrictions are another overlooked factor. Even after you connect the camera, communication may be blocked by the system firewall. Allowing the application through the firewall usually resolves this issue.
Power instability can also lead to intermittent disconnections, making the camera connection unreliable. Always use a compliant power supply.
6. Optimization Tips for Stable Camera Connection
After mastering how to connect a camera, further optimizations can improve stability. Using higher-quality cables, avoiding network interruptions, and deploying devices on a dedicated network can all enhance performance.
For long-term operation, maintaining a stable camera connection is more important than simply connecting once. Regular checks and keeping drivers up to date are highly recommended.
In complex industrial environments, using PoE to connect the camera is often the best solution, as it simplifies wiring and improves reliability.

ToF Camera and Camera Connection: The Key to Depth Data Stability
In 3D vision systems based on Time of Flight (ToF) technology, camera connection is more than just a physical link—it directly impacts depth accuracy and data stability. Unlike standard RGB cameras, ToF cameras rely on synchronized infrared emission and signal reception. Therefore, how to connect a camera becomes more demanding in terms of power stability, bandwidth, and latency.
If power supply or network quality is not ensured during to get started connect a camera, even after you successfully connect the camera, issues such as depth noise, frame drops, and unstable measurements may occur.
Additionally, ToF cameras output multiple data types such as depth maps, point clouds, and grayscale images, which increases bandwidth requirements for camera connection. To ensure real-time performance, it is recommended to use Gigabit Ethernet or PoE to connect the camera.
In multi-camera systems, synchronization and interference must also be considered. Improper connection methods may degrade overall system performance. Therefore, optimizing camera connection specifically for ToF cameras is essential for achieving high-precision 3D vision applications.
7. Summary: From To Get Started Connect a Camera to Stable Operation
Overall, camera connection is not complicated, but every detail matters. From to get started connect a camera, to network configuration, and finally to connect the camera, each step must be executed correctly.
By mastering the core principles of how to connect a camera—stable power supply, proper network configuration, and correct software setup—most connection issues can be resolved quickly. For enterprises, this not only saves debugging time but also significantly improves deployment efficiency.
Synexens 3D Camera Of ToF Sensor Soild-State Lidar_CS20

After-sales Support:
Our professional technical team specializing in 3D camera ranging is ready to assist you at any time. Whether you encounter any issues with your TOF camera after purchase or need clarification on TOF technology, feel free to contact us anytime. We are committed to providing high-quality technical after-sales service and user experience, ensuring your peace of mind in both shopping and using our products
